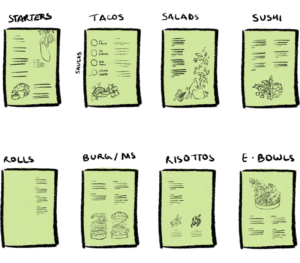
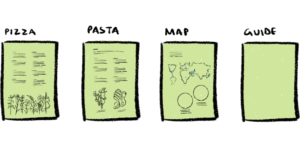
I researched and added elements from art forms of countries that inspired specific dishes on the menu. This was to draw a parallel with the artfulness of Greenr’s food, while giving the diners a peek into the culture behind the cuisine.
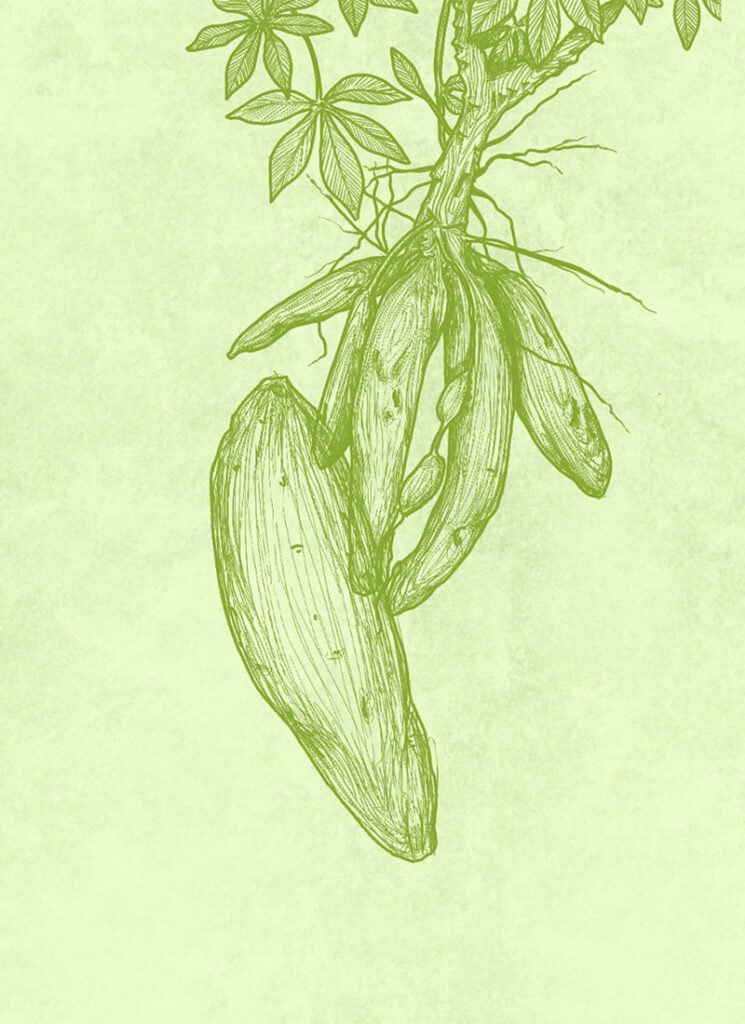
I used a line illustrative style for food, and the cultural elements in a watercolour style.
For illustration I used procreate, keeping each one as a separate png for the cafe’s future collaterals. For designing the layout and to keep the menu open for future edits (basis the ever-growing creativity of Greenr), I used Adobe InDesign.
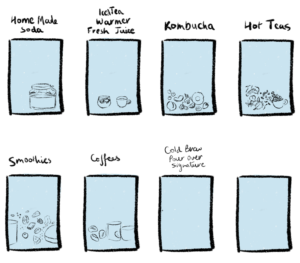
Health Bar Menu
This was the initial layout for the Health Bar menu:
I chose a soft blue colour for this menu, for a refreshing new look. For the products, I tried to use delicate lines, even for darker areas, to keep a consistent quality.
I chose a soft blue colour for this menu, for a refreshing new look. For the products, I tried to use delicate lines, even for darker areas, to keep a consistent quality.
Key Details
Providing clear information about ingredients is very important to the cafe. As such I worked with them to understand the required symbols and key information.
To design the symbols I used Adobe Illustrator and converted them to symbols on InDesign, to incorporate in the text.
The final piece I worked on for the menu was a page highlighting the global influence of the cuisine that’s at the heart of Greenr Cafe.
Learnings
This project taught me a lot, not just about how delicious healthy food can really be. It also brought me a much better understanding of key skills that will help me in future projects.
I learnt that, while designing menus, it is important to remember that the viewer is going to hold the outcome in their hands. The information needs to be well organised. Graphics should be kept in check. We want them to complement the text in a supportive role. An important role, but only in balance with the content. After figuring out how I wanted to place my illustrations, I was able to plan and execute them better.
Printing was another area I learnt a lot about.Since each page was a different length, and paired in this pattern too, I was intimidated. But the print technician I worked with helped me understand the process of printing with an atypical layout.
There is a distinct difference between RGB and CMYK that must never be overlooked while starting a print illustration. I enjoyed watching the prints get better with each subsequent printing.
Finally, I got to sharpen my illustration skills. To be honest, I’m quite happy with how this project turned out!